Description
Description:
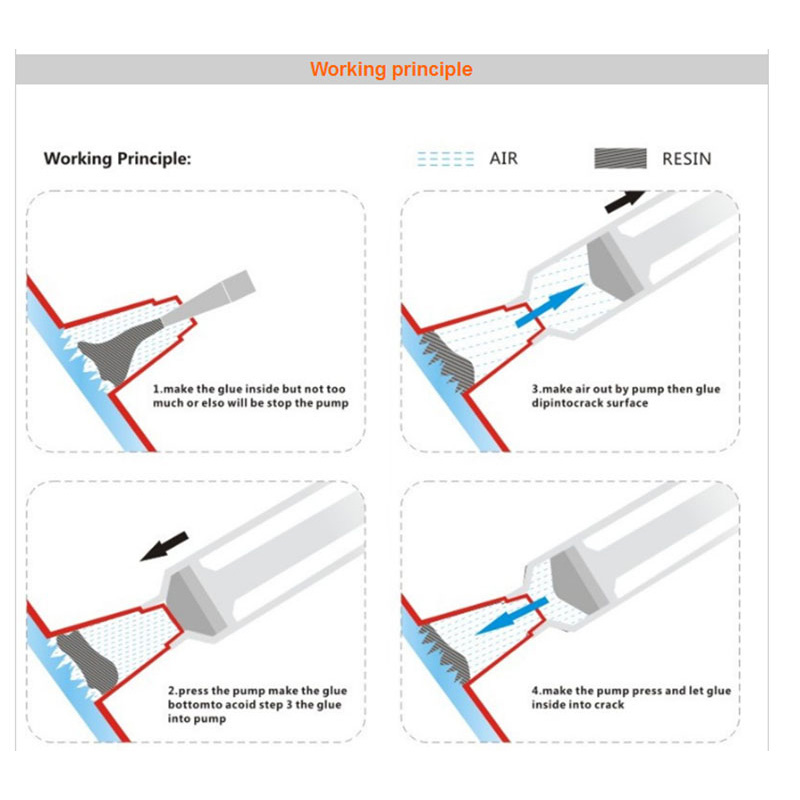
VISBELLA windshield repair kit is a handy tool designed to make repairing small cracks in your windshield a breeze in just 30 to 50 minutes.This kit will minimize the appearance of chips and cracks in your windshield and prevent them from spreading any further. It works by removing air from the break and then fills it with a durable resin, making the area eveb stronger than befor. To achieve the best results, repairs should be done as soon as the damage has occurred and before the break is contaminated by dirt ot water.
Application:
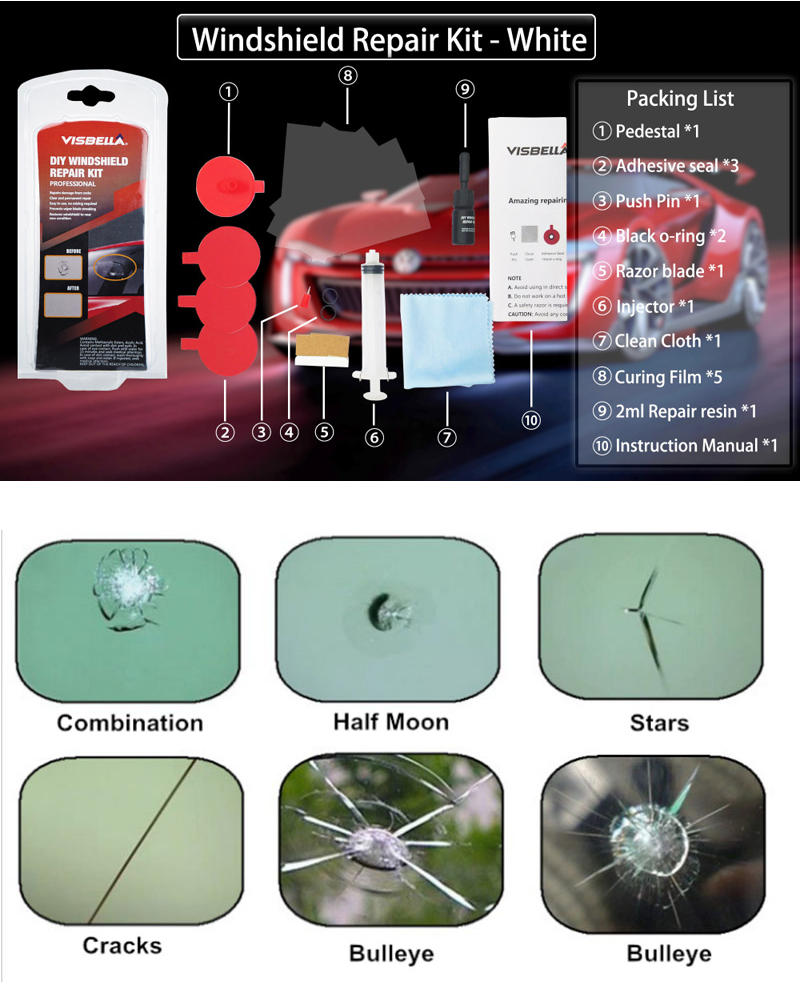
The kit meets every windshield technicians needs to be able to really repair all star breaks, bullseye breaks, combination breaks, chips, cracks, etc. Minimizes the appearance, and stops the spread of chips and cracks.
Features:
1. Easy to use for all types of lamented windshields.
2. Minimizes the appearance of chips and cracks in your Windshield.
3. No heating is required.
4. Durable resin formula.
5. Good for multiple repairs.
6. Single ingredient – eliminates mixing.
Instruction:
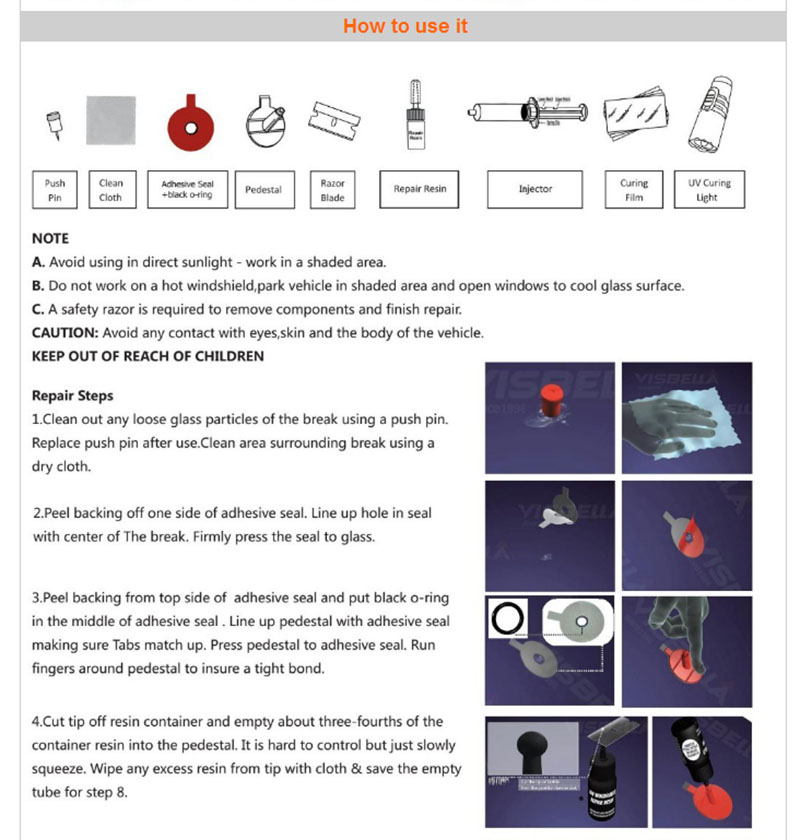
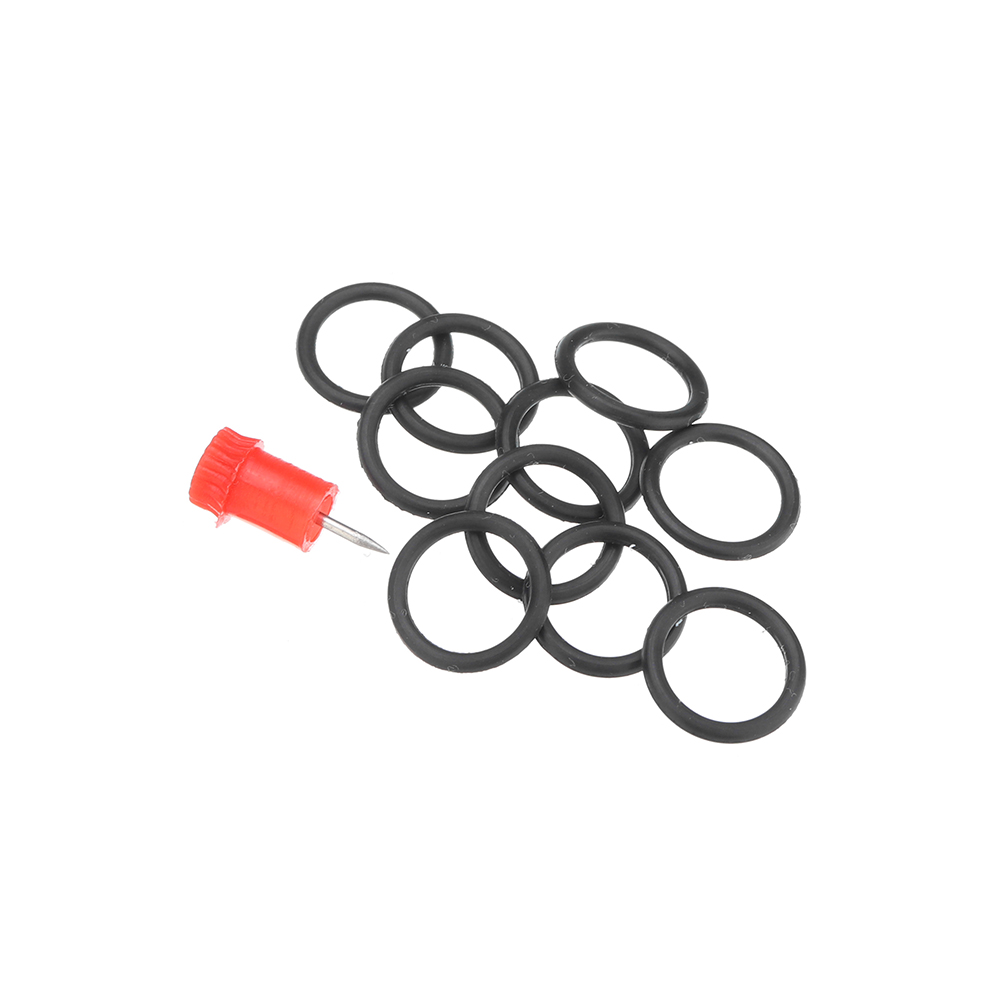
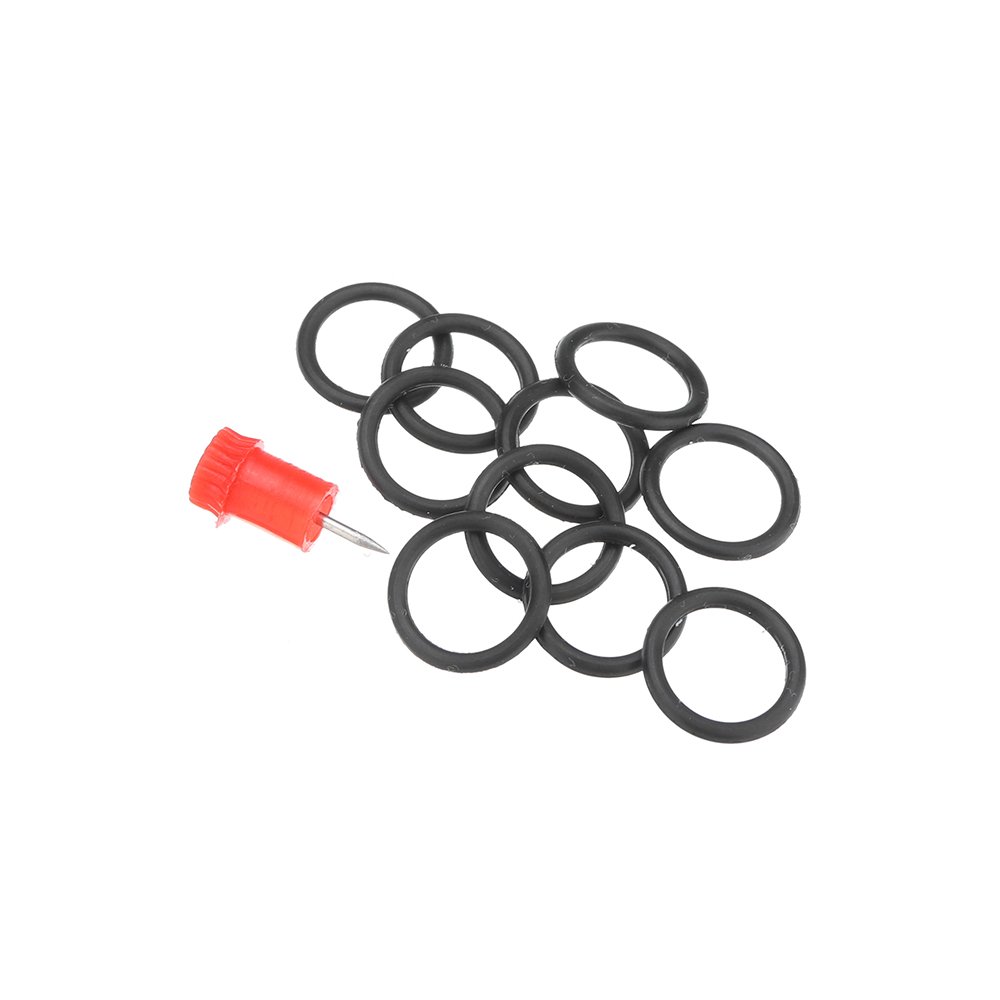
1. Clean out any loose glass particles of the break using a push pin. Replace push pin after use. Clean area surrounding break using a dry cloth.
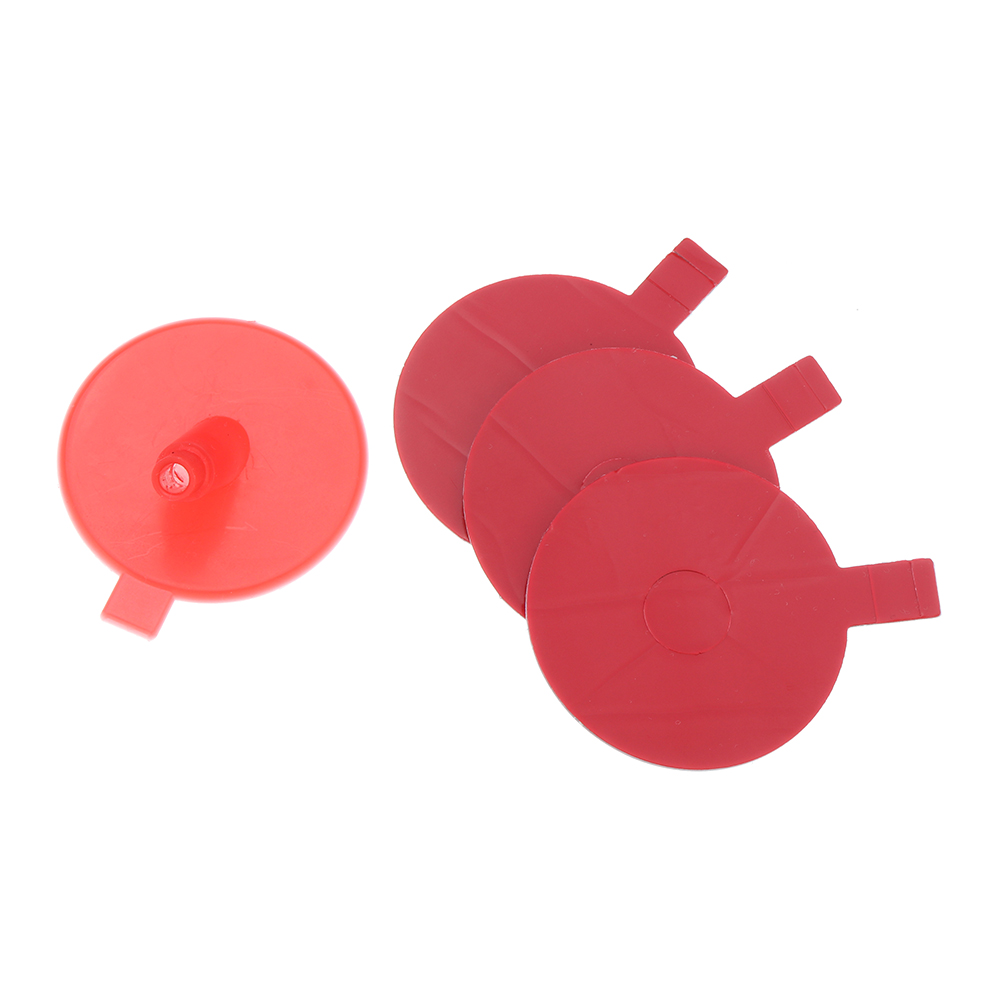
2. Peel backing off one side of adhesive seal. Line up hole in seal with center of the break. Firmly press the adhesive seal onto the glass.
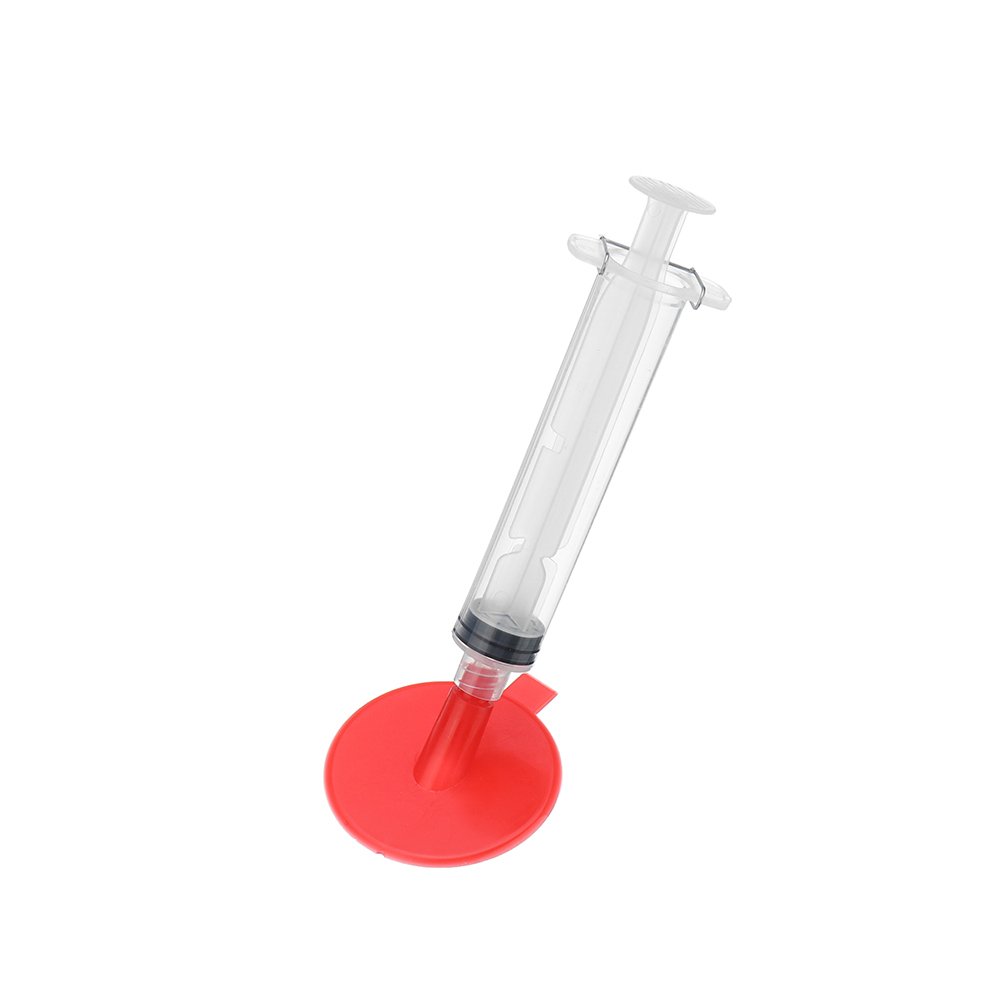
3. Peel backing from top side of adhesive seal and put black o-ring in the middle of the adhesive seal. Line up pedestal with adhesive seal making sure tabs match up. Press pedestal to adhesive seal. Run fingers around pedestal to ensure a tight bond.
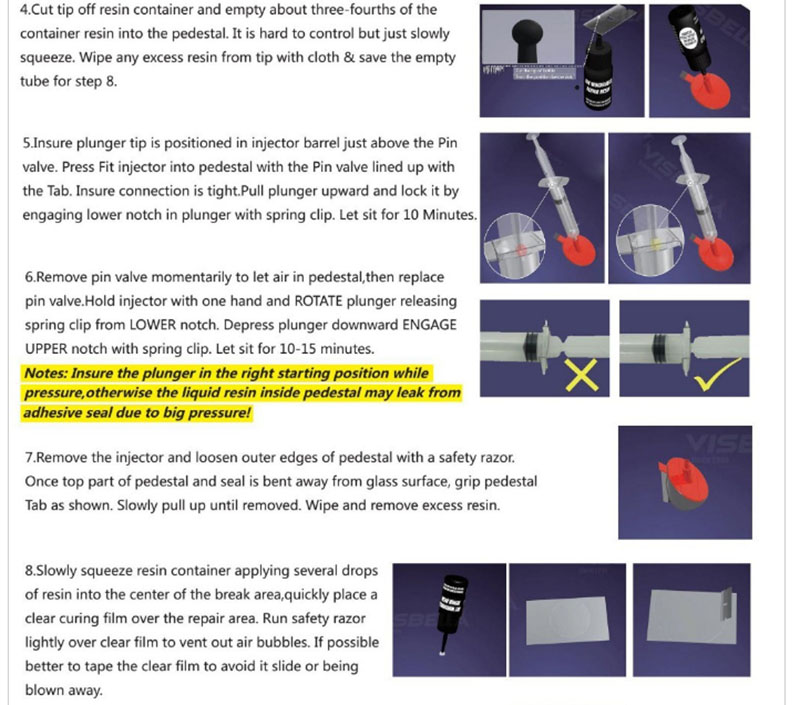
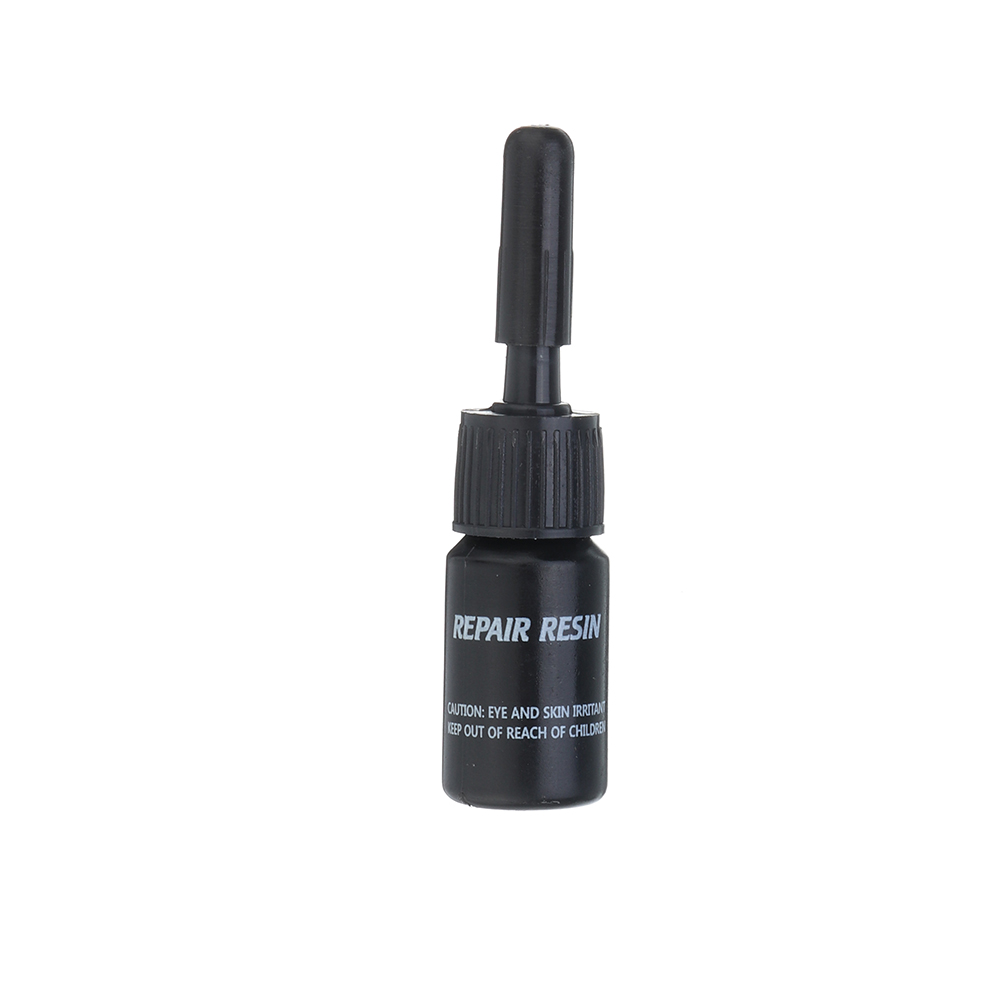
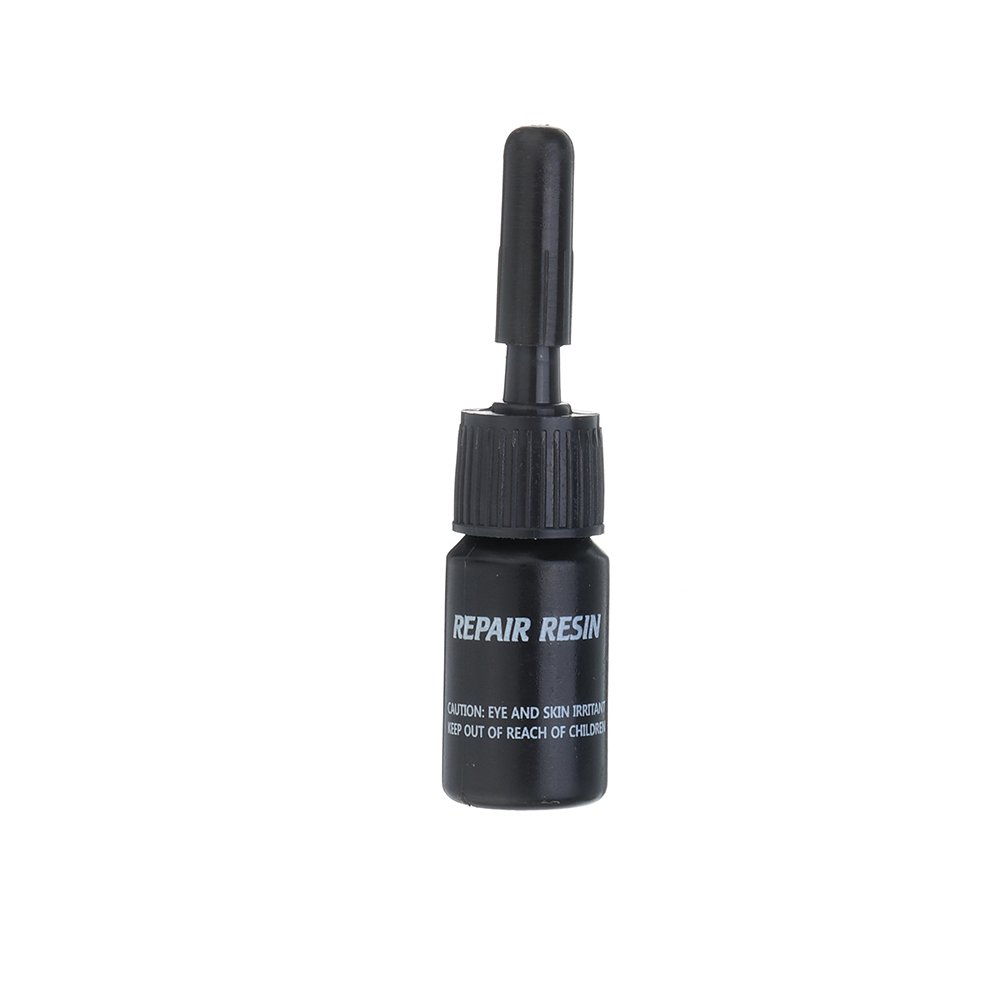
4. Cut the tip off resin container and empty about three-fourths of the resin into the pedestal. Squeeze slowly to better control the amount of resin being poured. Wipe off any excess resin from tip with cloth and save the empty tube for step 8.
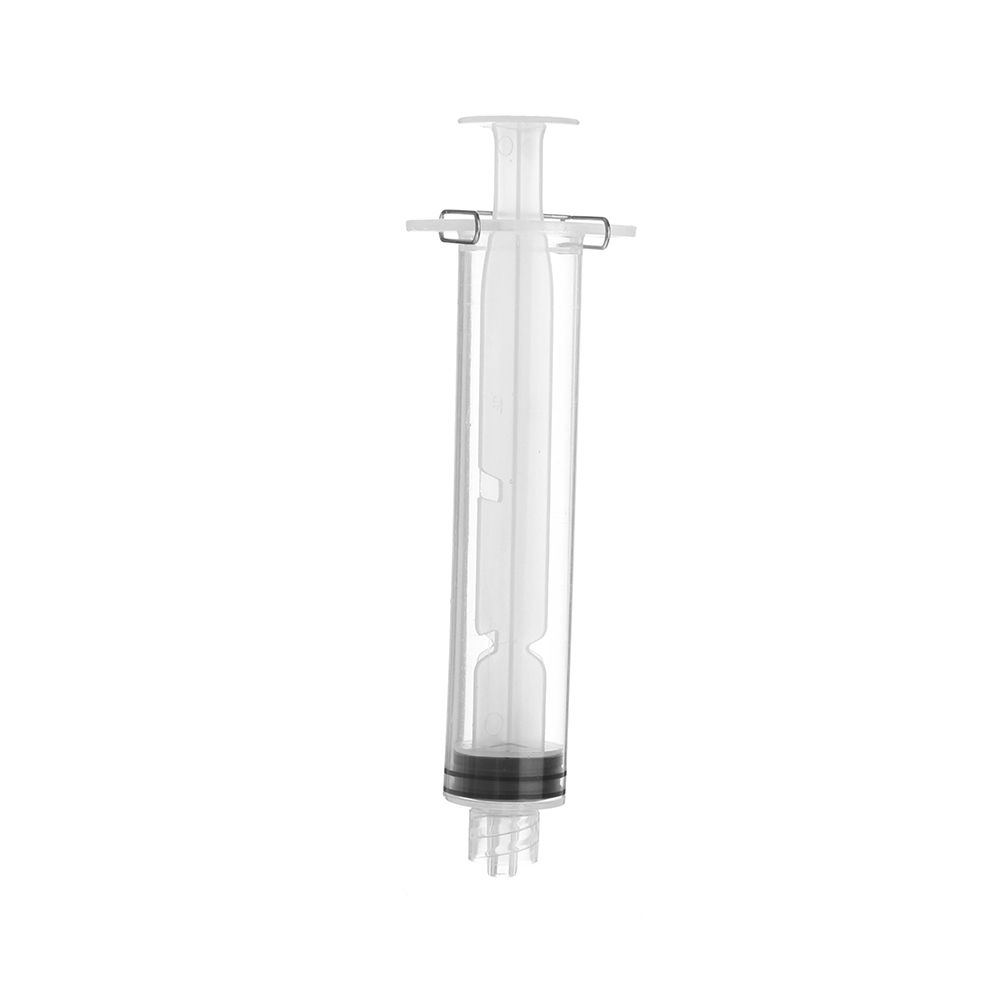
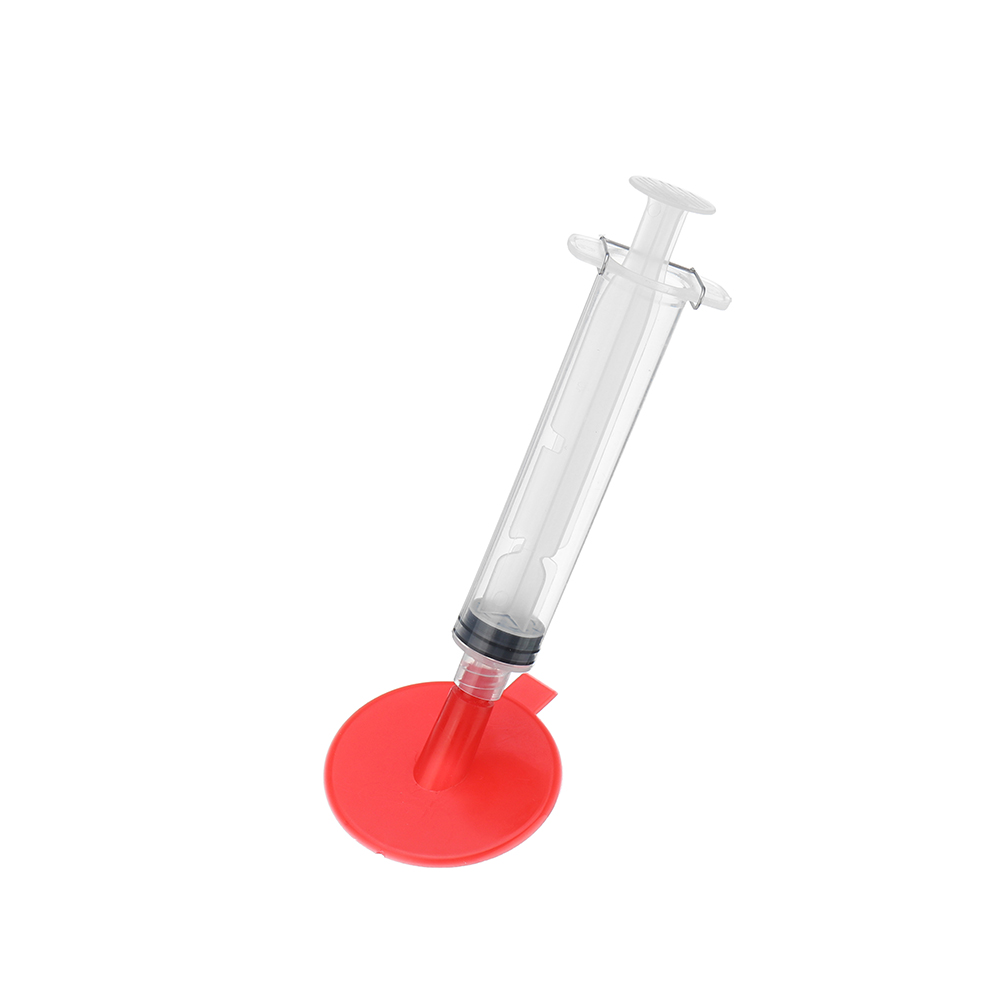
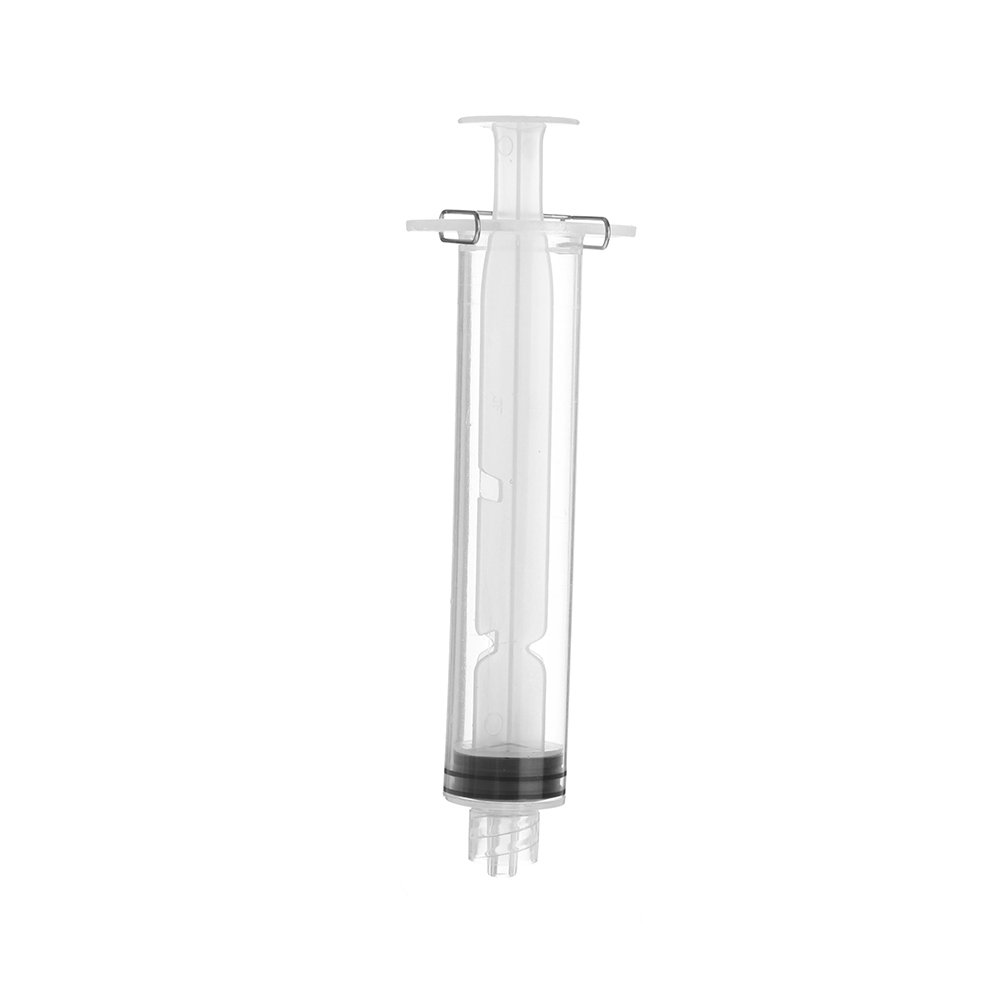
5. Ensure plunger tip is positioned in injector barrel just above the pin valve. Press fit injector into pedestal with the pin valve lined up with the Tab. Ensure connection is tight. Pull plunger upward and lock it by engaging lower notch in plunger with spring clip. Let sit for 10 minutes.
6. Remove pin valve momentarily to let air in pedestal, then replace pin valve. Hold injector with one hand and rotate plunger releasing spring clip from lower notch. Depress plunger downward and engage upper notch with spring clip. let sit for 10-15 minutes.
Note: insure the plunger in the right starting position while under pressure, otherwise the liquid resin inside pedestal may leak from adhesive seal due to high pressure!
7. Remove the injector and loosen outer edges of pedestal with a safety razor. Once top part of pedestal and seal is bent away from glass surface, grip pedestal tab as shown, Slowly pull up until removed. Wipe off and remove excess resin.
8. Slowly squeeze resin container and apply several drops of resin into the center of the break area. Quickly place a clear curing film over the repair area. Run safety razor lightly over clear film to vent out air bubbles. If possible, its better to tape the clear film to avoid sliding or being blown away.
9. Cure the resin under sunshine for 15–20 minutes or by using uv light for2-5 minutes, in any weather, The UV rays from the sun will harden the resin.To finish, scrape off excess cured resin and clear film flush with the glass surface using a safety razor.
10. If the repair result isn’t perfect just repeat the process until it’s smooth and perfect.
Package Included:
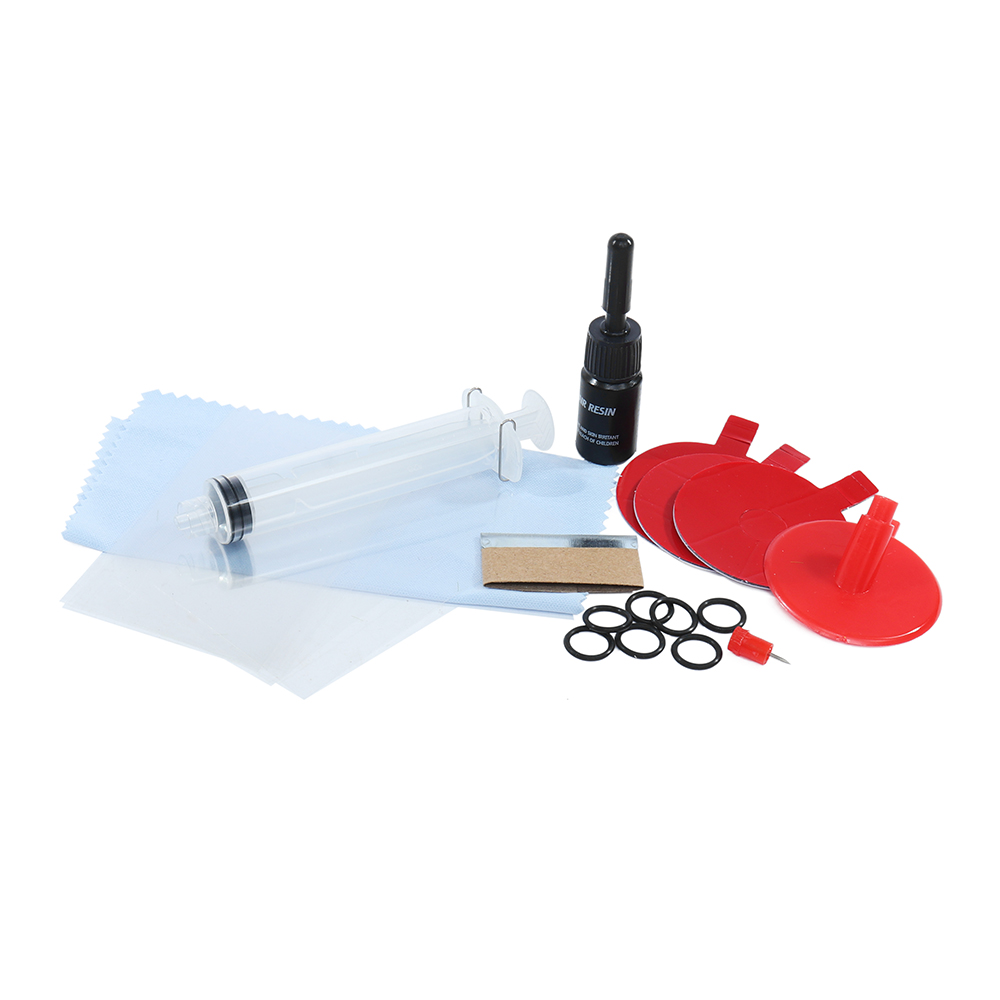
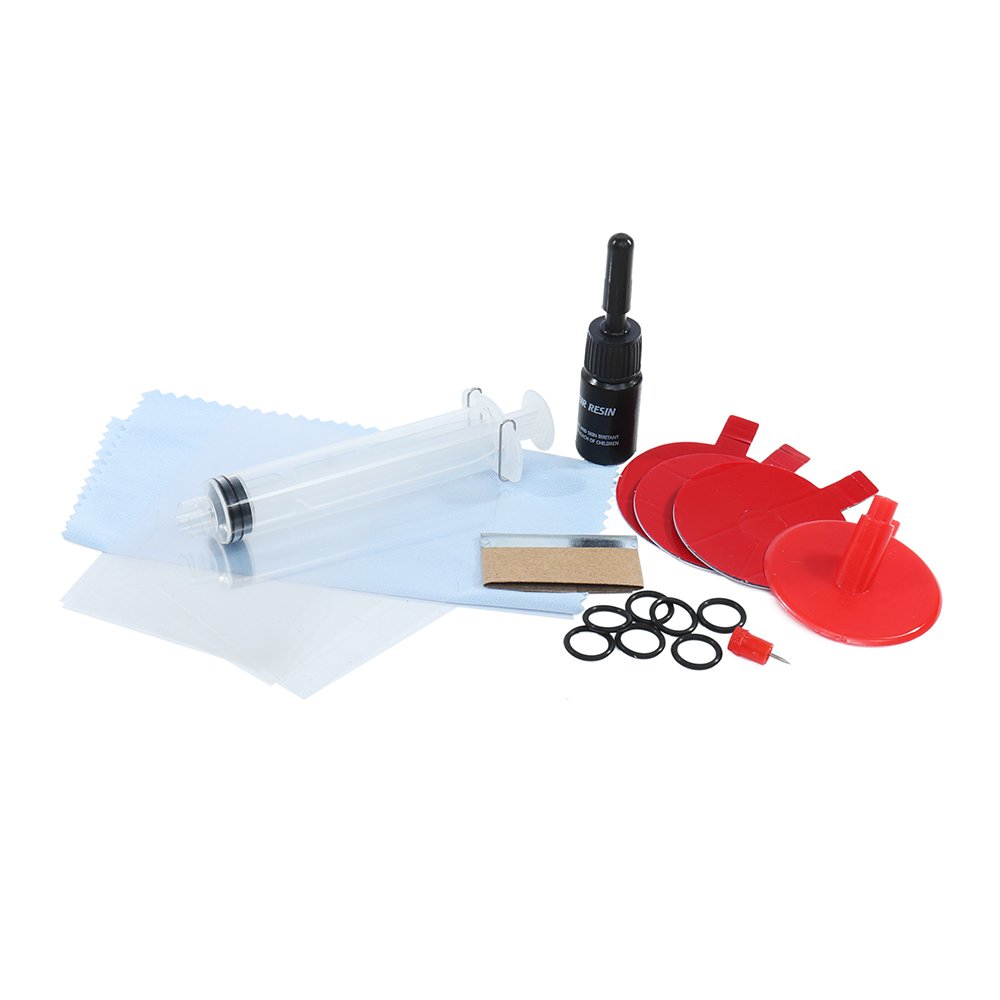
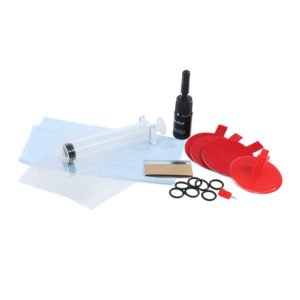
1 x Pedestal
3 x Adhesive Seal
1 x Push Pin
2 x Black O-ring
1 x Razor Blade
1 x Injector
1 x Clean Cloth
5 x Curing Film
1 x 2ml Repair Resin
1 x Instruction Manual
1 x Soft blue absorbent wash cloth
Detail Pictures:


 or 4 payments of


Reviews
There are no reviews yet.