Description
From the manufacturer

Avoid DIY drilling disasters and take your renovation projects to the next level
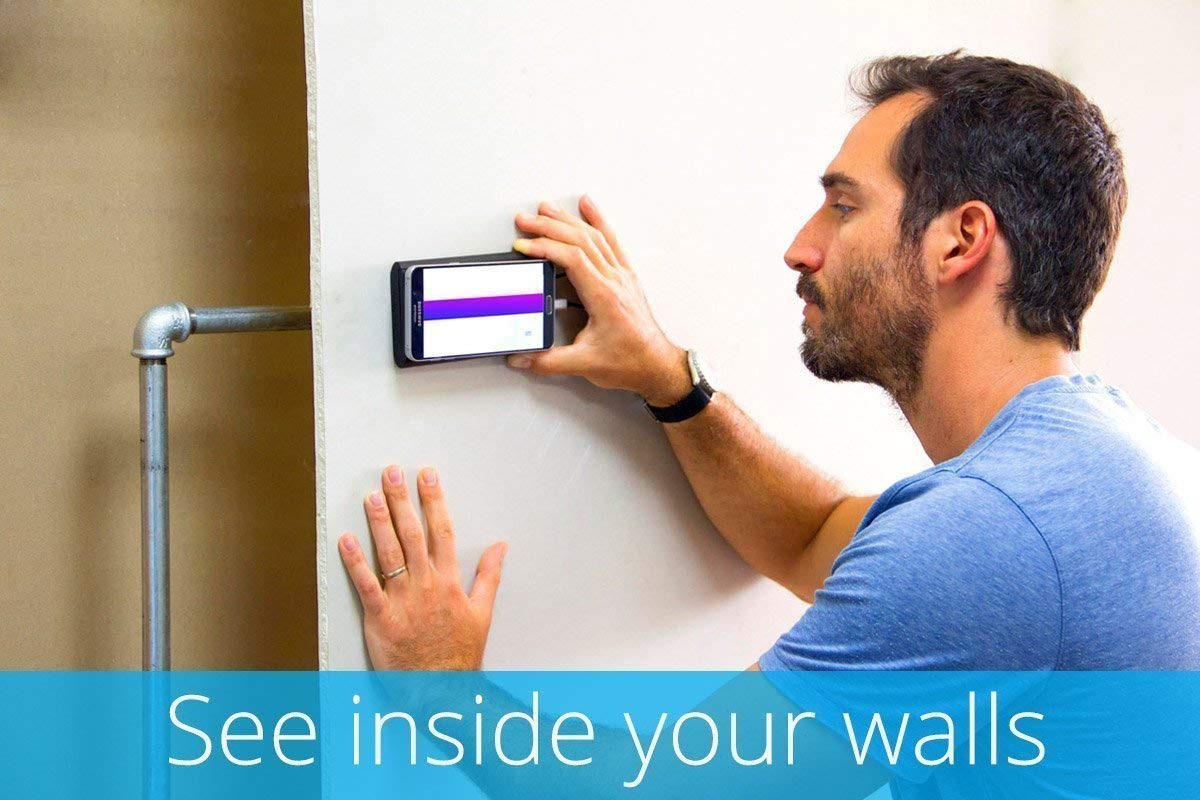
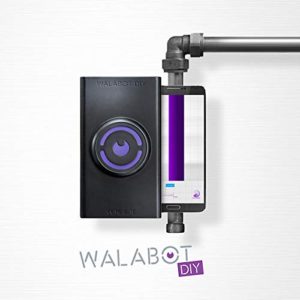
The Walabot Multifunction Wall Scanner uses Radio Frequency (RF) technology for advanced detection.
The tool is a cutting edge device which is paired with an Android phone (see specifications for details) to produce a visual image of what is inside concrete and drywall up to 4 inches (10 cm) deep. It can show users what is in their wall in multiple modes (Pan mode, Image mode, and Expert mode).
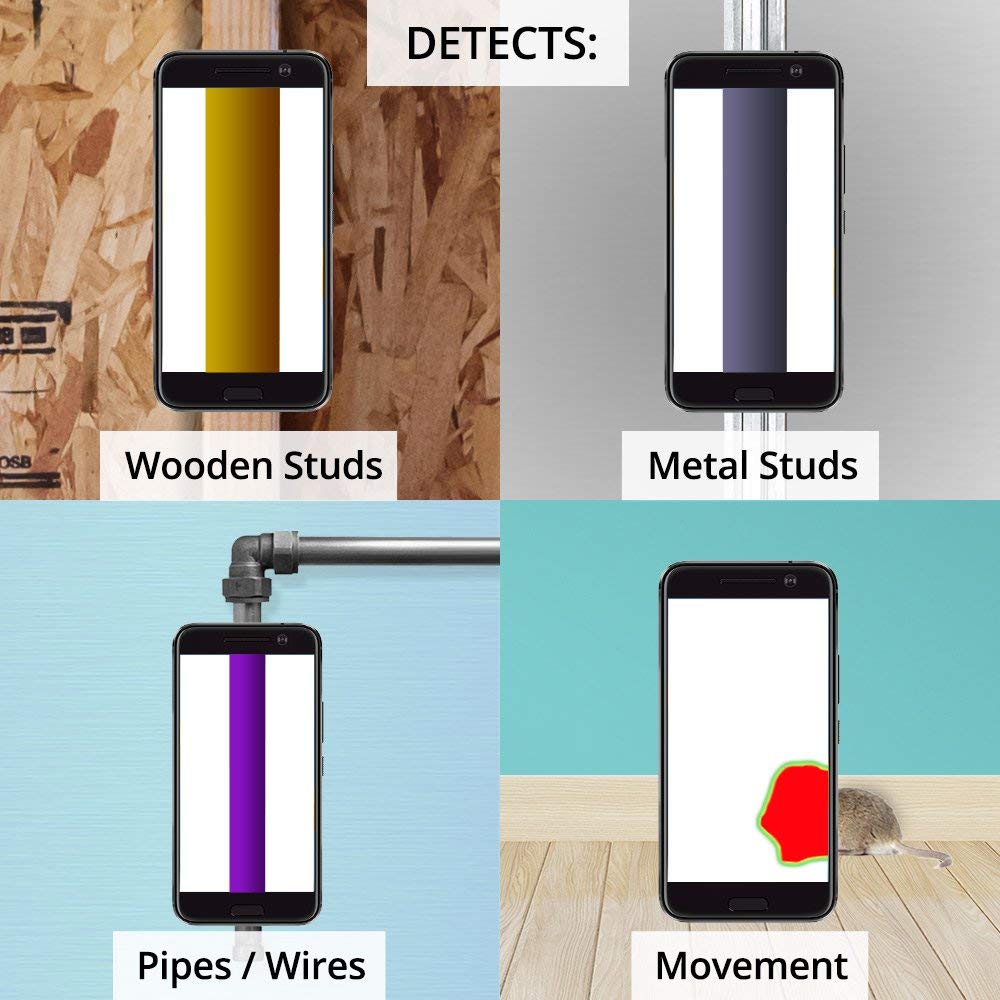
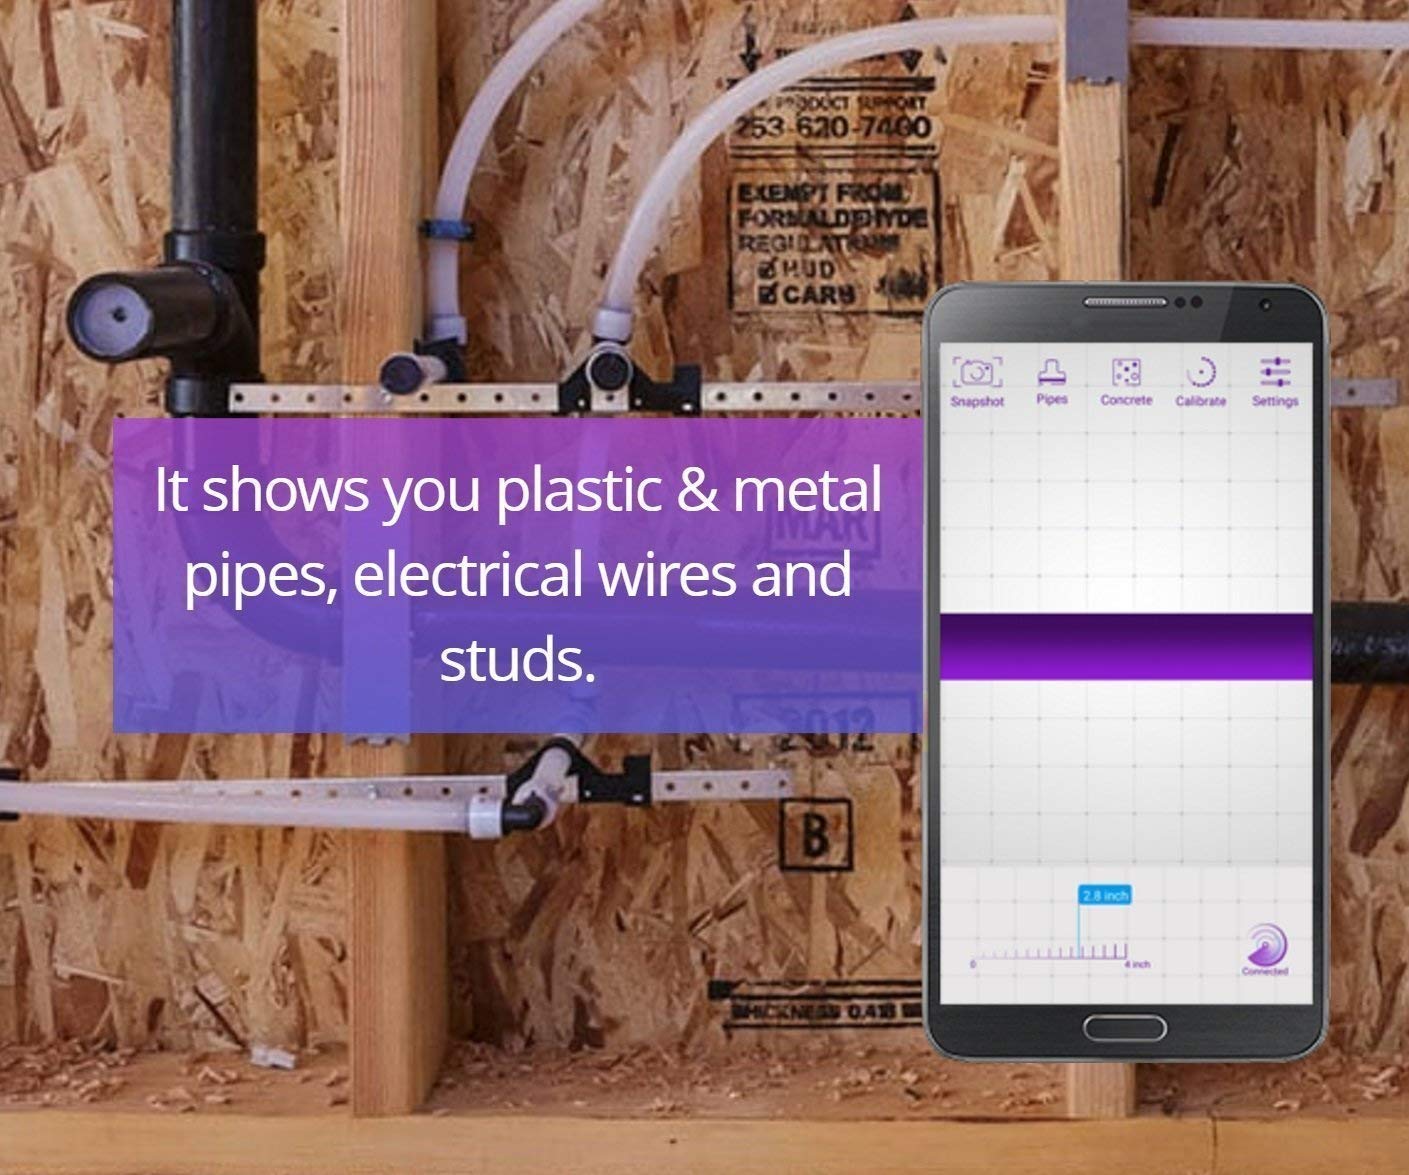
The Walabot detects metal objects, wood studs, wires, pipes and can show movement behind walls.
Walabot can be used by contractors, electricians, plumbers, carpenters, and those in need of advanced wall imaging capabilities. The advanced technology is also perfect for ambitious DIYers and those who want real-time visual images of what is hidden within a wall.
Not compatible with iPhones
- Compatible with most Android phones running Android 5.0 and above, with USB On-The-Go (USB OTG)
- Known Incompatible Smartphones:
- iPhones, iPads
- Tablets

Cutting Edge Technology Transforms Your Smartphone into an Advanced Wall Imager
What does Walabot DIY Detect?
Wooden Studs – Metal Studs – Pipes – Wires – Movement.
Walabot DIY connects to your Android phone and then does so much more.
Unlike any other stud finder or wall scanner, Walabot has a unique sensor and imaging technology to let you see within your walls. No need to rely on flashing lights or beeping sounds.
Walabot has frequent updates with new developments on a regular basis, that you can update from the mobile app.

Learn to Use Walabot
Walabot DIY has the power to become the most valuable tool in your box. When using new technology there is always a learning curve.
To get the most from your Walabot DIY, follow the instructions .
– Download: the Walabot DIY app to your Android phone.
– Connect: the Walabot DIY device to your phone using the USB cable provided.
– Follow: Installation guide and tutorials in the app.
Watch: Walabot’s ‘What’s the Drill’ online videos and in depth tutorials.
-Always make sure that you are using a Walabot DIY compatible wall like drywall, sheetrock or concrete. Walabot DIY results may vary and can be unreliable on a non-compatible wall
3 Modes of WalabotDIY
|
|
|
|
|---|---|---|
Step 1 – Pan Mode: Panoramic view of a full wall line, with distances.To use pan mode, hold the Walabot against the wall, calibrate and scan from one side of the wall to the other. Pan mode will show an image of objects within the wall and approximately where they are located. Pan facilitates a quick overview of where studs are placed in the wall. Different classifications of objects like wooden studs, metal pipes, and plastic pipes will create unique colored stripes in the image viewer. Each type of object will be defined by the stripes and can be used for future reference in either Image or Expert mode. |
Step 2- Image Mode: visual classification of studs, pipes and more.To use image mode, hold the Walabot against the wall and move over the objects which were identified in Pan mode. Walabot RF technology will analyze the objects and translate the results into images which are identified by type according to the results. Results of RF readings can identify wooden studs, metal studs, pipes, and wires. |
Step 3 – Expert Mode: see the raw signals from the Walabot sensor.Expert mode gives a direct view into the unfiltered RF produced image. This image can show location in more detail, curves in pipes and wires, the intersection between two objects, movement in real time and can be used to confirm objects found in Pan and Image mode. Expert mode gives a direct view into the unflitered RF produced image. This image can show location in more detail, curves in pipes and wires, the intersection between two objects, movement in real time and can be used to confirm objects found in Pan and Image mode. You can focus the expert mode by managing the intensity bar to better see the objects. |



 or 4 payments of



Reviews
There are no reviews yet.